How I built my own Twitch-Plays-Pokémon: Part 4
I gave this talk at Baruco 2014.
I'm publishing it now as a series of blogposts. Make sure to check out the first part.
You can find the slides in my speakerdeck. You can also see the recording in YouTube.
Ruby Version: Irresponsible Ruby
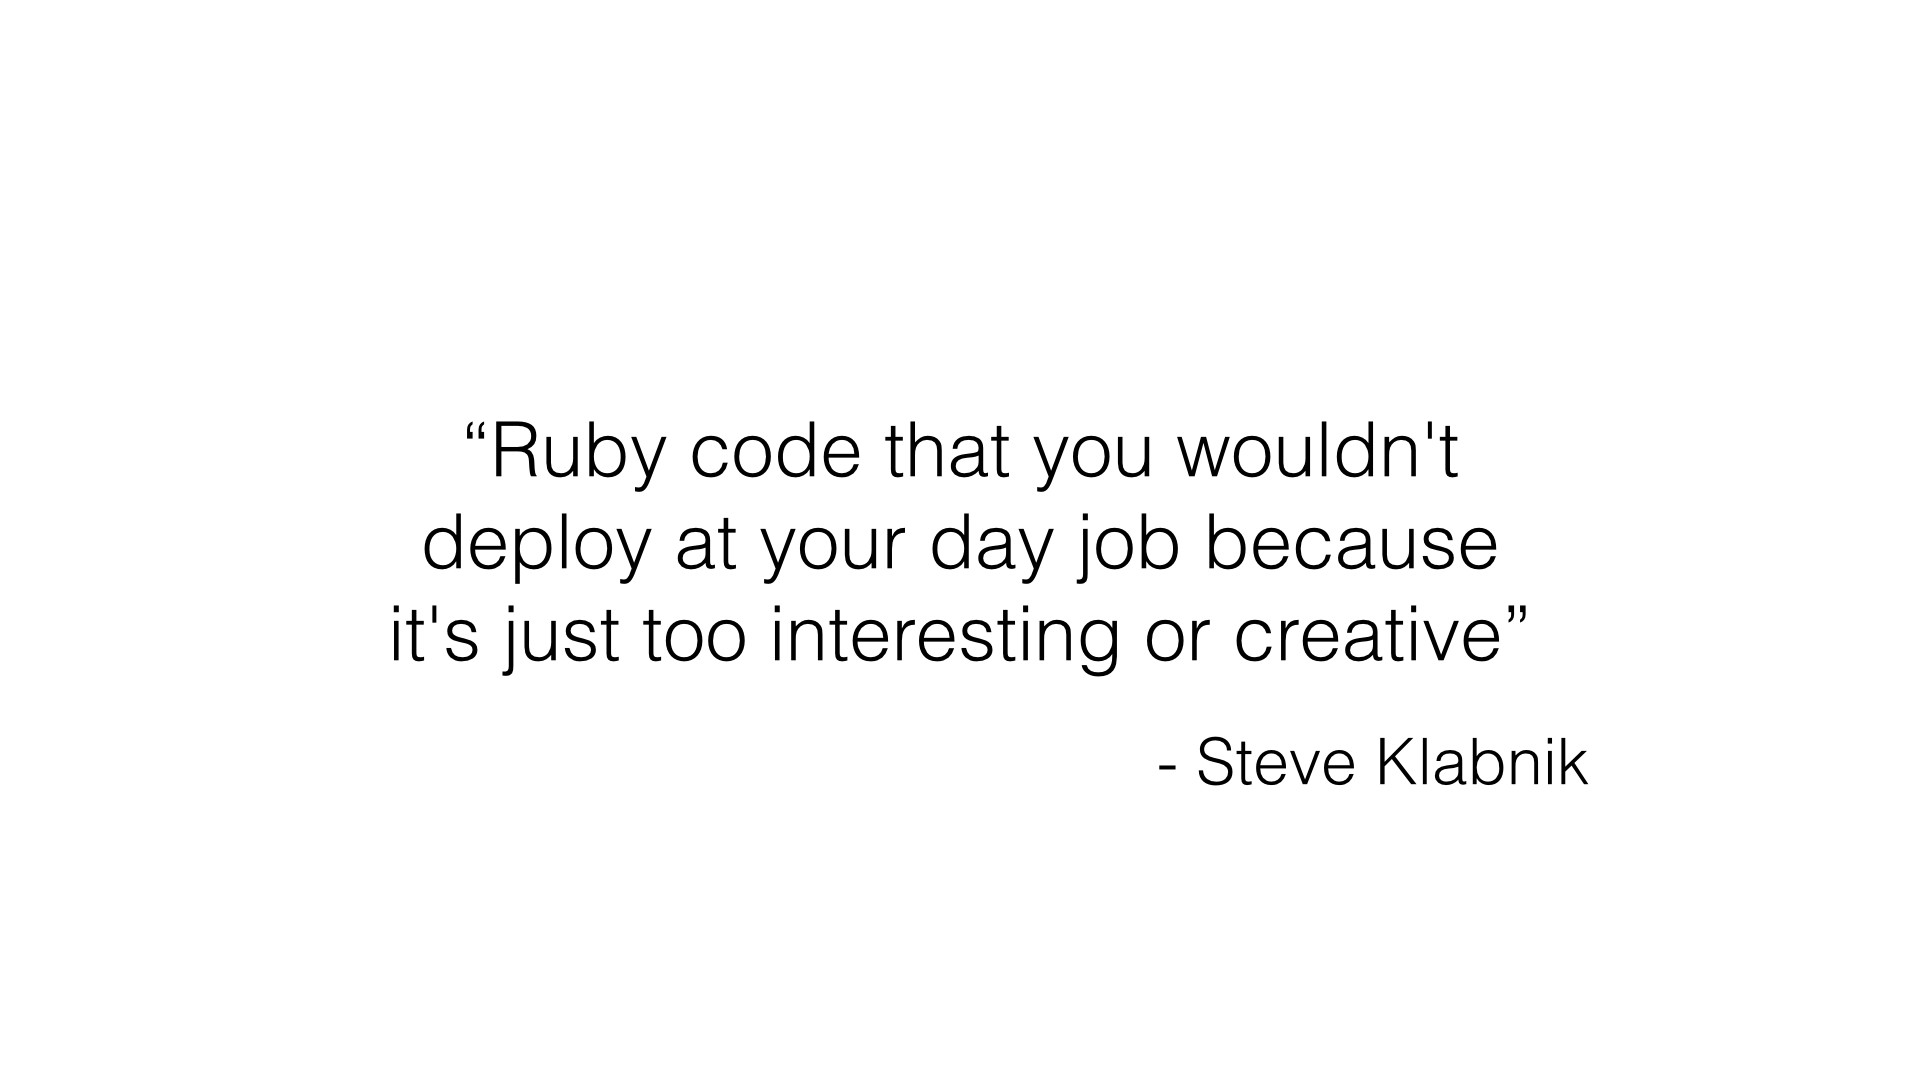
In EuRuKo 2013, Steve Klabnik gave an amazing talk explaining the concept of "Irresponsible Ruby".
Steve explained us how following the same procedures and patterns we do in our daily work can reduce our freedom and therefore, our creativity.
By focusing on how easy it is to test a feature or its modularity,
we're closing doors that might be very valuable.
Irresponsible Ruby is:
- Neat Hacks
- Weird Metaprogramming
- Unusual Techniques
- No Unit-tests
Irresponsible Ruby is using Ruby as you would in a hackathon: as creative as possible.

I loved the concept and wanted to apply it to this project.
Jano was testing every CPU instruction with rspec, which besides being tedious, it actually stopped me from working the way I needed.
Ruby Version: Figuring out How to test the Emulator
I still had to test the emulator though, but a traditional rspec setup wouldn't do.
Unit tests would help even less.
What I needed was some sort of master test.
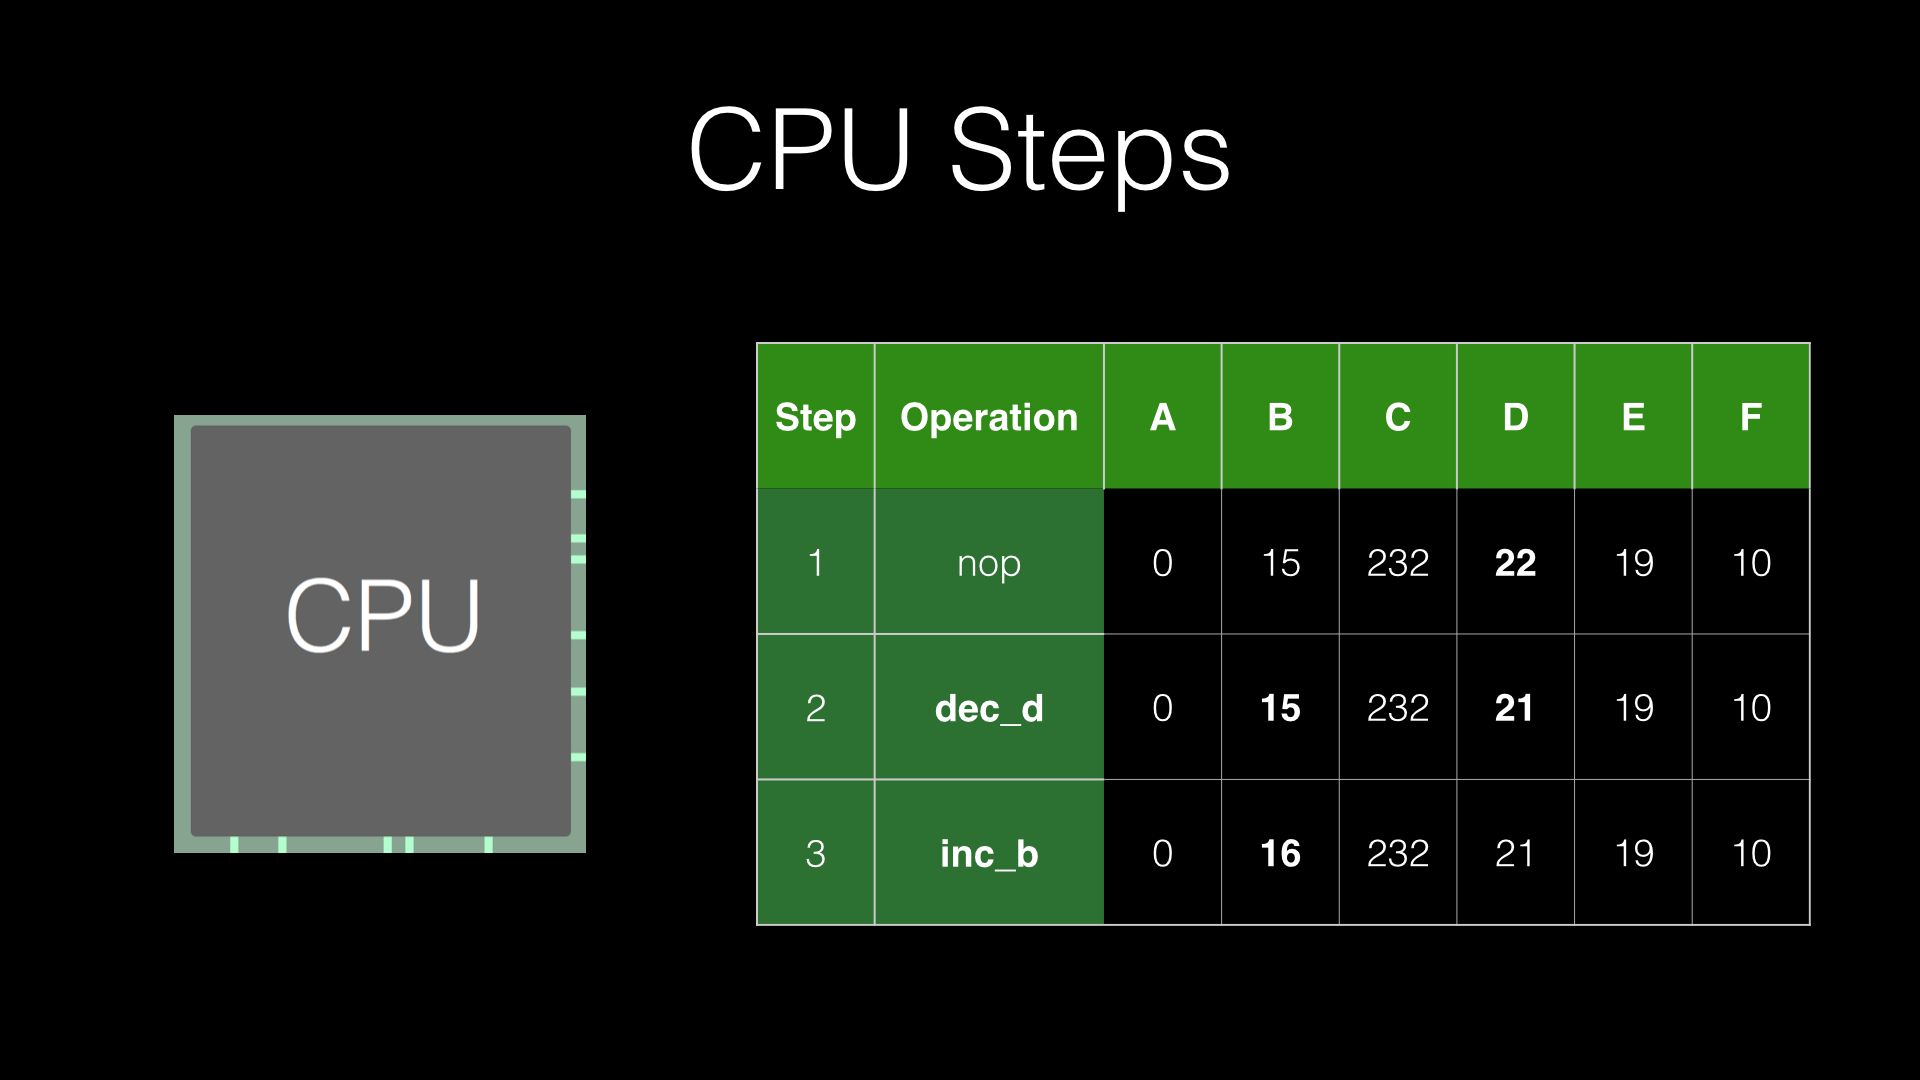
The GameBoy CPU has 6 main 8-bit registers, which are just tiny numbers that
the CPU can interact directly with.
The emulator executes each instruction from the GameBoy ROM.
Those numbers typically change after each CPU instruction.
I thought that I could run the working javascript version of the emulator
and record those numbers after each cpu instruction.
If I do the same for my ruby implementation then I could compare both sets of registers
and see exactly in which instruction my CPU is failing.
Luckily, the specification of how the original GameBoy works was feature-frozen before I was born, so the spec was not going to change.
The first step was modifying the finished javascript emulator from the tutorial
so it runs on nodejs.
Then, make it export the memory of each step to a JSON file.
Lastly, I modified Mimey so it compares each step.
Running the "test suite" looked like this:
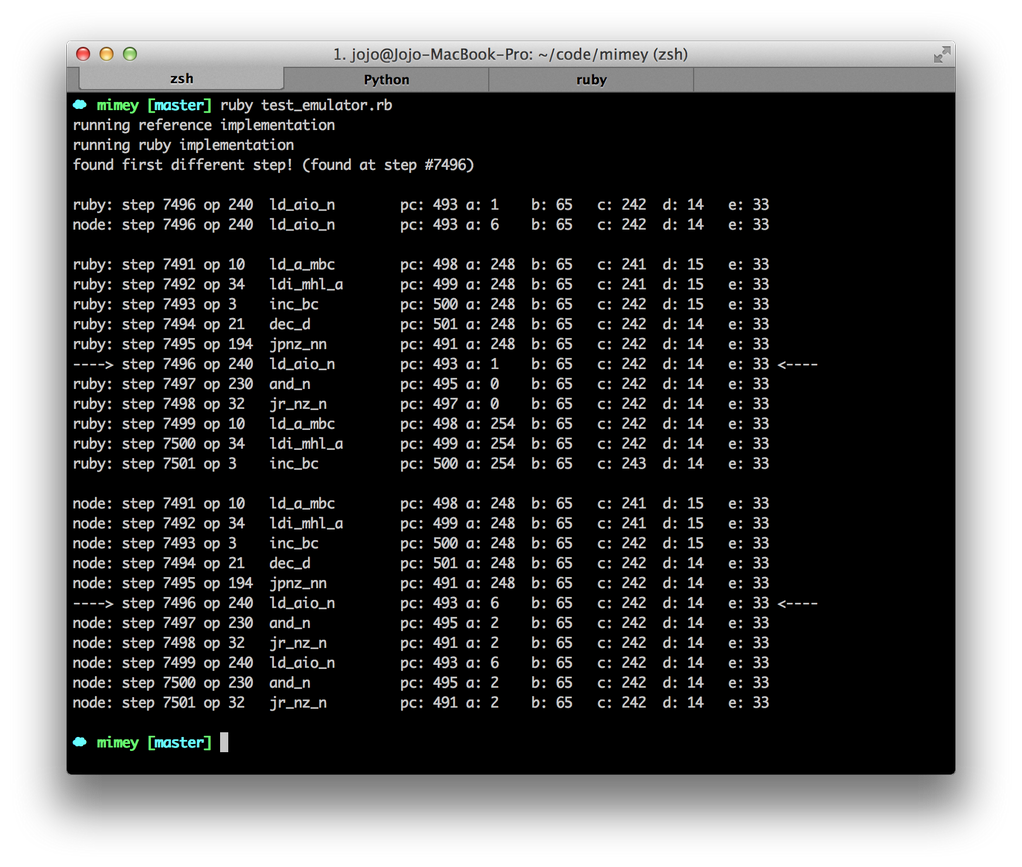
I actually did TDD with this tool.
My working routine was:
- running the test suite.
- see which cpu instruction fails and which registers were different.
in this example, the register A was 1 instead of 6. - fix the implementation of the instruction.
- rinse and repeat.
Ruby Version: Rendering the first image
With this testing method I started working on the CPU and the memory manager.
The system was good enough so I could reproduce the first 50.000 cpu instructions,
enough to start rendering the first image.
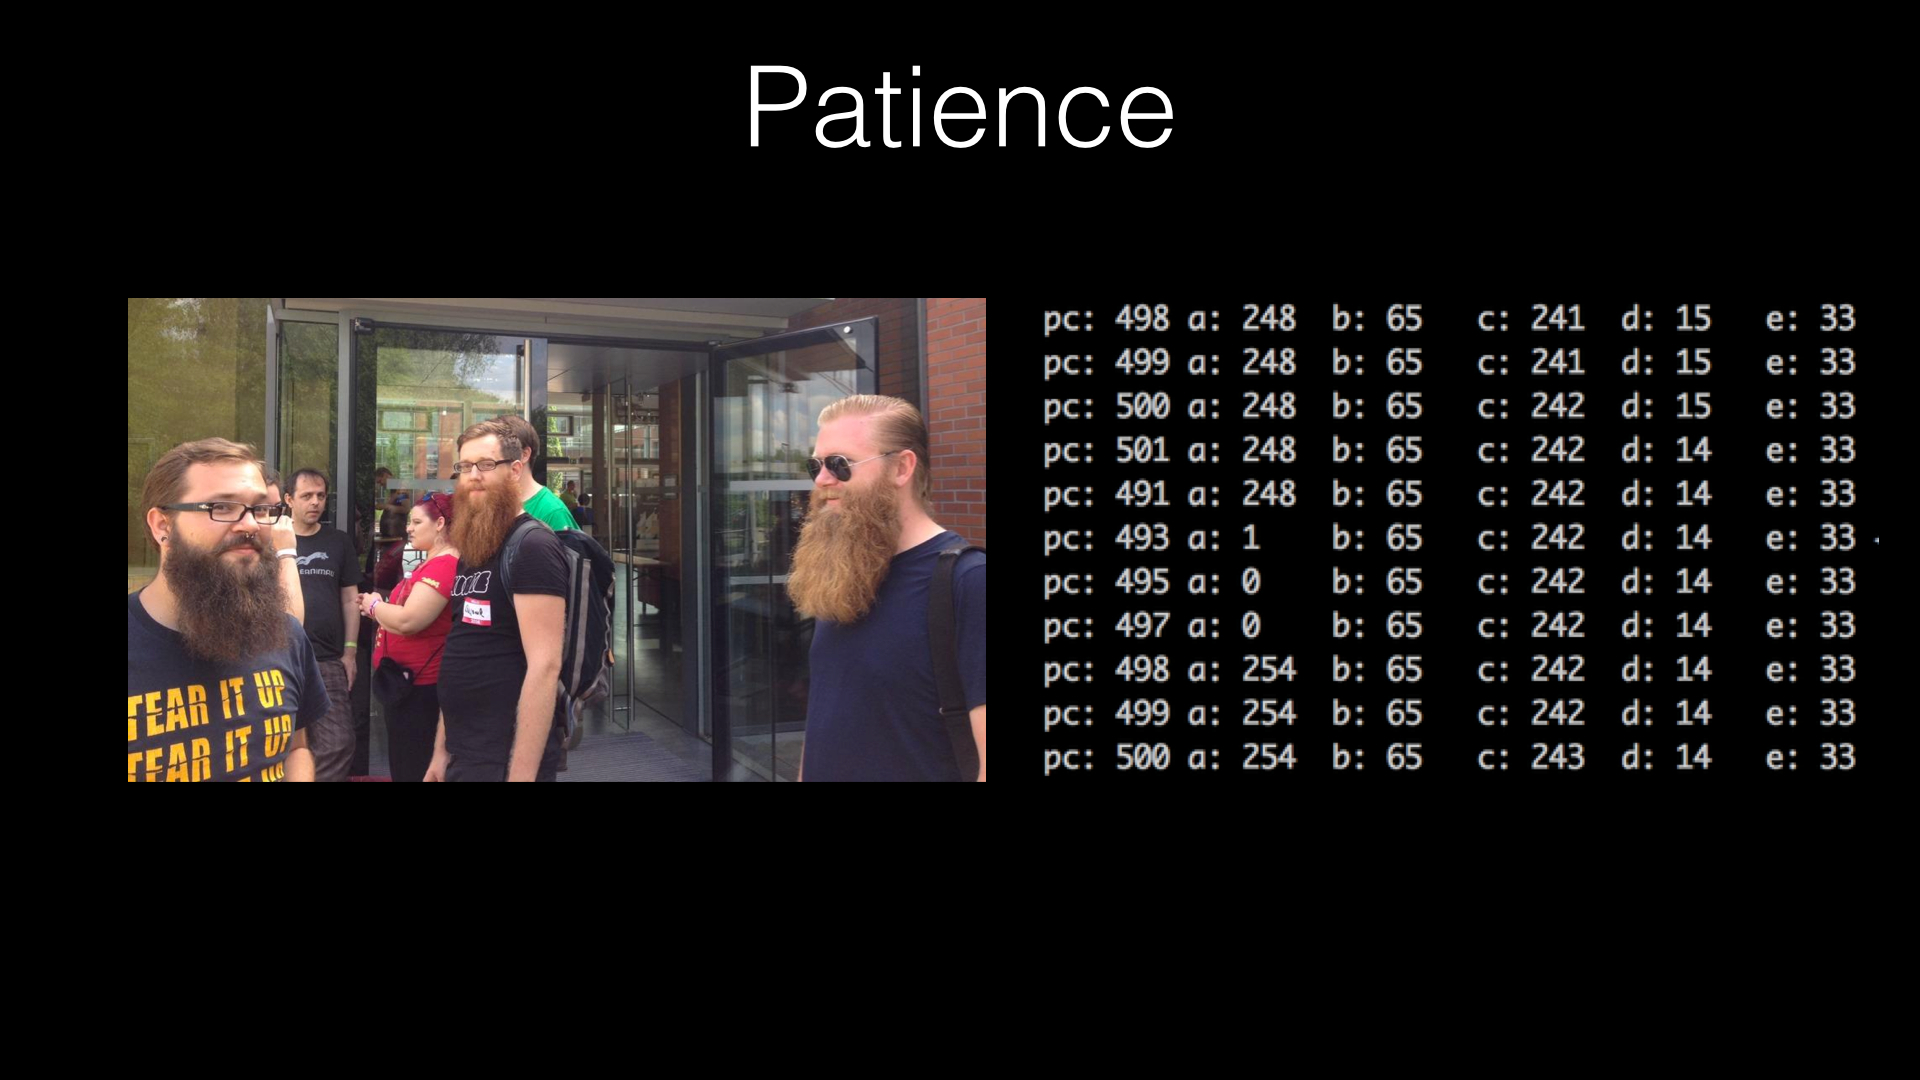
Some people say that men who grow a beard are full of patience,
because of all the time they put into growing it.
If you think that's patience, try writing a G-A-M-E-B-O-Y emulator
for a couple days only seeing hexadecimal addresses and you'll know what patience means.
After porting part of the GPU, it was time for the emulator to render it's first frame!
The only way I had to display information was the terminal output,
so I came up with a very rudimentary way of testing whether my GPU was working.
The system was ready, I just had to press enter and I should see an image.
Crossed my fingers and hit the button...
The only thing I saw was this:

It took me a long time to figure out what was causing the bug,
because the pixels were being processed just like in the Javascript version.
The memory was the same!
What I didn't consider was that the original javascript version, besides being
horribly written, had a GPU hardcoded to render using Canvas.
In practice that means that one every four pixels had useful information.
The rest was just nil.
Dividing some number by 4 would do the job.

Ok, here we go again. Just one enter away.
Crossed my fingers again...
OMG IT WORKED!